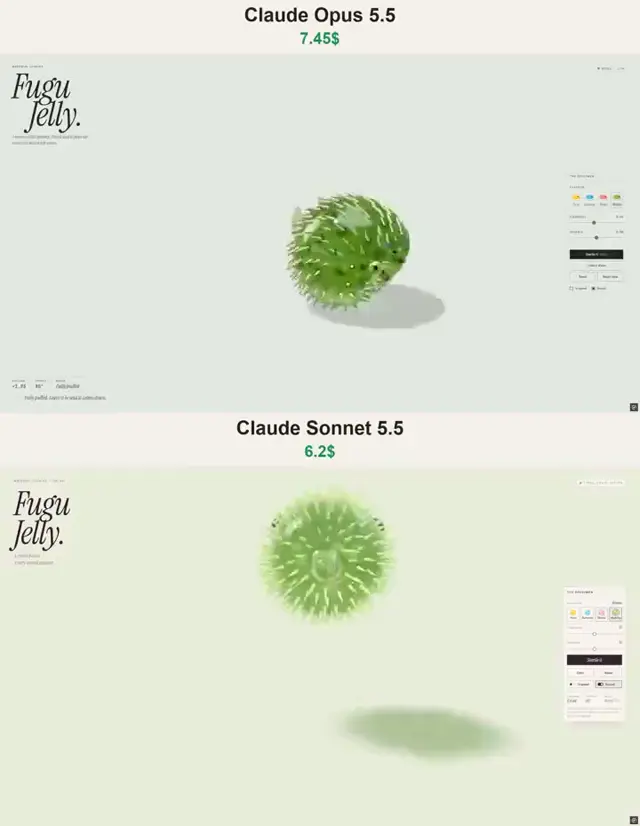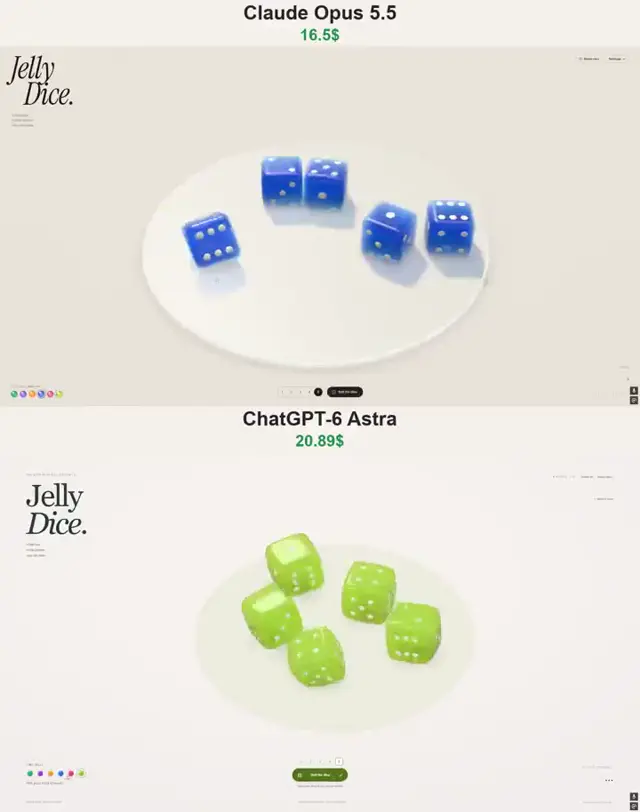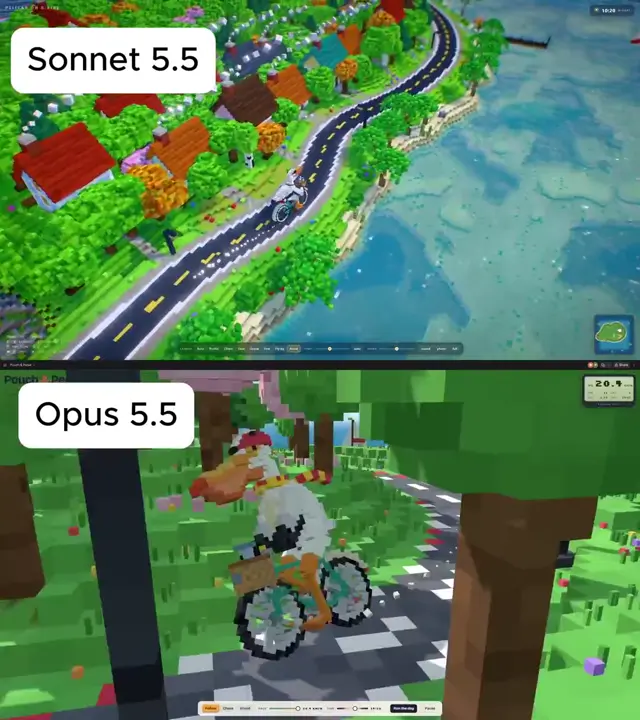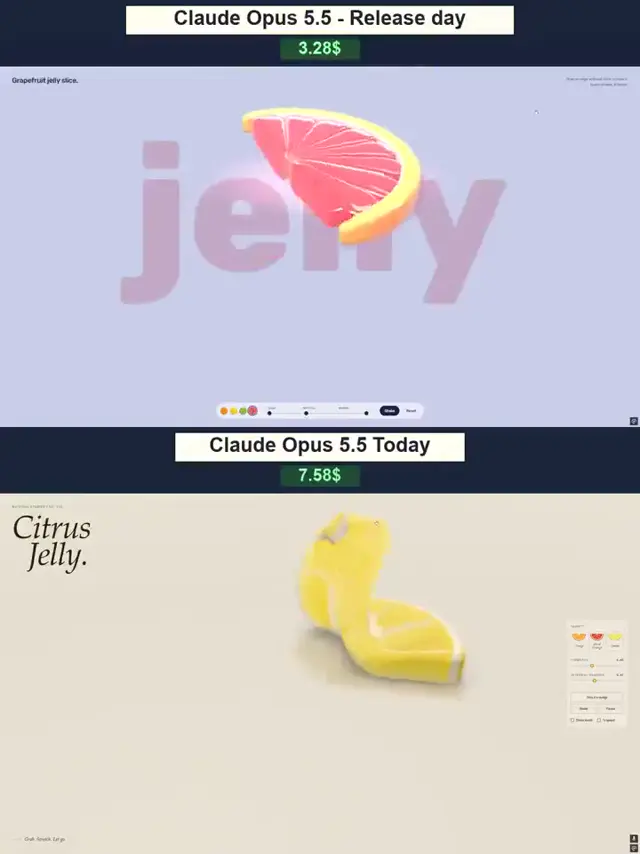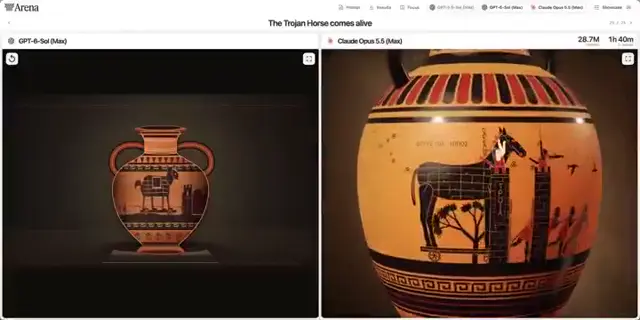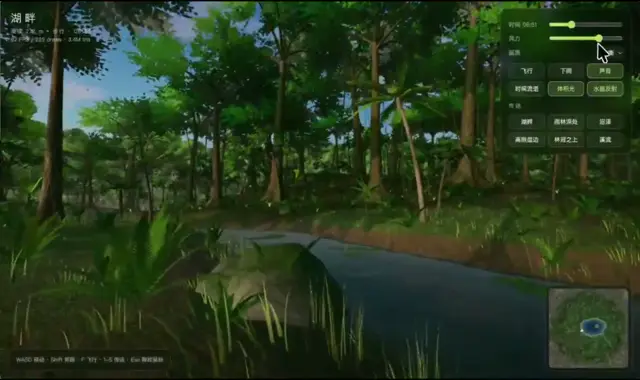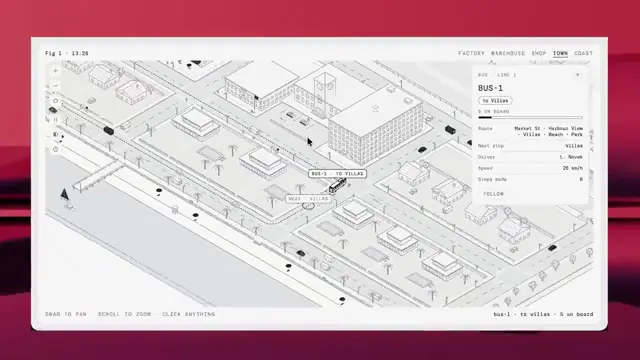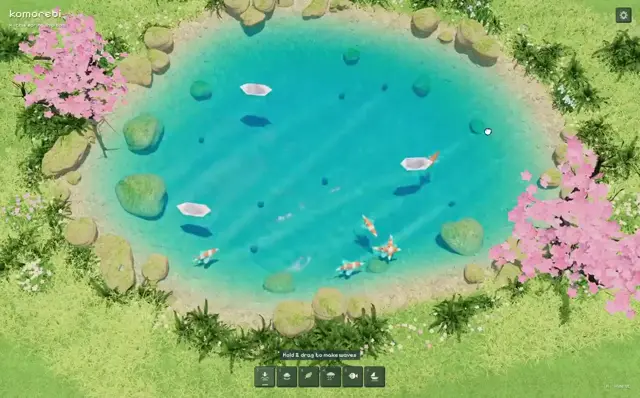
You are a senior real-time 3D artist and Three.js engineer. Build a detailed, realistic, interactive off-road expedition vehicle in the existing project using Three.js and WebGL.
Treat the attached image as a visual reference only. It shows a heavily used, boxy vintage 4x4 expedition vehicle: olive-green paint, extensive rust and mud, large knobby tires, a front bull bar and winch, roof-rack cargo, side-mounted equipment, and a rear spare tire. Use the large upper image as the primary appearance reference; use the smaller side and rear views to infer details hidden in the main view. Do not reproduce the image itself as a flat plane, billboard, or texture. Build a real 3D vehicle that looks convincing from every angle.
Required workflow
Work through the phases below in order. At the end of every phase, run or open the project using its existing workflow, inspect the actual result, perform that phase’s checks, fix problems, and repeat the checks until the phase passes. Only then continue to the next phase. Keep the code and project runnable between phases.
Do not mark a phase complete based on code inspection alone when its appearance or behavior needs to be checked in a rendered scene. Do not claim to have verified something you could not inspect. Make routine implementation choices yourself and continue through all phases without waiting for user review.
Phase 0 — Inspect the project and plan the implementation
Inspect the project structure, Three.js version, rendering setup, coding conventions, and available local 3D, image, and audio assets. Identify the existing run and preview workflow. Reuse suitable local assets and existing project patterns where practical. Do not add external dependencies or fetch assets from the internet unless the project already has an established workflow for doing so.
Before modifying files, determine where the reusable vehicle component belongs and how it should be integrated. Then proceed with implementation; do not stop after presenting a plan.
Check before continuing: Confirm that the chosen implementation fits the project’s Three.js version and architecture, that required assets are available or a procedural approach is needed, and that you know how to launch and inspect the result.
Phase 1 — Create the correctly proportioned vehicle body
Build the main 3D silhouette first: a heavy, older utility 4x4 with a tall squared-off body, upright windshield, flat hood, distinct fenders, practical cabin, and visible ground clearance. Establish the wheelbase, cabin, hood, roofline, front and rear overhangs, and overall proportions before adding small details.
Use meters as the approximate unit scale. Target roughly 4.4 m in length, 1.8 m in width, and about 2.2 m tall including roof rack and cargo. Use a consistent local coordinate system: Y is up, X is left/right, and +Z points toward the front. Place the origin at the vehicle’s ground-level center, or document a different origin if project conventions require it.
Create actual vehicle geometry. Do not use a flat image, a crude blockout, a toy-like model, or floating primitive shapes as the finished result.
Check before continuing: Inspect front three-quarter, side, and rear three-quarter views. Correct the silhouette, scale, wheel placement, and cabin proportions until the vehicle reads as the reference’s rugged expedition 4x4. Confirm it can be placed in a scene without a baked-in floor or background.
Phase 2 — Build the exterior, wheels, chassis, and expedition equipment
Refine the body into separate panels with readable gaps around the hood, doors, fenders, and rear access panels. Add:
Four large off-road wheels with deep, individually readable tread blocks, worn sidewalls, and aged steel wheels.
A matching rear-mounted spare tire.
A substantial front bumper and bull bar, winch with cable or fairlead details, tow hooks, grille, round headlights with reflectors and lenses, and amber turn signals.
Mirrors, handles, hinges, door seals, window frames, windshield glass, side windows, rear lights, and wipers.
A snorkel beside the windshield, roof rack, auxiliary lamps, tied-down canvas bags, jerry cans, tools, and other secured expedition equipment suggested by the reference. Cargo must be attached with believable straps and mounts.
Visible underbody components: chassis rails, axles, suspension elements, driveshafts, exhaust, differential housings, and skid plates where appropriate.
Ensure parts attached to a moving panel will move with that panel. Reuse geometry and materials where practical; use instancing for repeated small details when appropriate.
Check before continuing: Inspect the same three angles again. Confirm that the equipment is attached plausibly, the wheels and spare are aligned, important forms do not intersect visibly, and the model looks detailed at a useful viewing distance.
Phase 3 — Add realistic paint, metal, glass, rubber, and weathering
Create aged olive-drab paint with natural variation, faded areas, scratches, chipped edges, exposed metal, and localized rust. Add dried mud, dust, and grime, especially around wheel arches, lower body panels, tires, bumpers, and underbody parts. Make the wear look layered and physically plausible rather than like uniform noise over every surface.
Use a restrained palette of olive paint, dark rubber, oxidized and bare metal, aged glass, dirty canvas, and muted cargo colors. Vary roughness and color across parts. Add small fasteners, welds, brackets, seams, and edge wear where they help establish scale. Keep details readable under ordinary scene lighting; avoid excessive gloss, oversaturated colors, or details that disappear at normal viewing distance.
Procedural textures, vertex colors, and custom shaders may be used where they materially improve paint variation, scratches, rust, mud, or glass. Keep shader code compatible with the project’s Three.js version and WebGL renderer. Prefer stable, maintainable materials.
Check before continuing: View the vehicle under the project’s normal lighting and from front, side, and rear angles. Adjust roughness, color, glass transparency, and weathering so the paint looks worn but the vehicle’s shape and details remain easy to read.
Phase 4 — Build the complete interior and engine bay
Treat the interior as essential. It must be a complete, believable cabin, not a dark empty box behind tinted windows. Make it visible through the glass and when the doors are open.
Model a coherent cabin with:
A dashboard fitted to the vehicle’s shape, including an instrument cluster, readable gauge faces, indicator lights, vents, switches, glove box, and central controls.
A steering wheel in the correct position, steering column, and visible pedals.
Front seats and rear seating or cargo-area details consistent with the body layout. Include believable cushions, seams, worn upholstery, headrests, and seat belts.
Inner door panels with armrests, handles, locks, window controls, trim, and hardware.
A detailed floor, footwells, center tunnel, gear lever, handbrake, seat mounts, and practical mats.
A plausible rear cabin or cargo area visible through the side and rear glass.
Appropriate glass transparency and reflections. Keep the windows clear enough that the interior can be seen from outside.
When the hood opens, it must reveal a convincing engine bay with an engine block, cylinder-head shapes, intake, hoses, wiring, radiator, fan, battery, reservoirs, belts, and surrounding supports. The parts do not need to simulate real mechanics, but their scale, arrangement, and fit must look credible.
Check before continuing: Inspect the cabin through closed windows, with the doors open, and from a view into the engine bay. Correct misplaced or intersecting parts. Confirm that the steering wheel, seats, pedals, dashboard, doors, and engine components have plausible scale and placement.
Phase 5 — Make the hood and doors open and close
Make the hood and visible doors separate moving parts attached at mechanically plausible hinge pivots.

Animate the hood with a realistic pivot and travel. Include visible hinges or hinge details and a believable hold-open support if appropriate.
Animate the driver-side and passenger-side front doors on vertical front-edge hinges. They should open outward smoothly to a sensible maximum angle.
If the body design includes a separate rear access door or tailgate, make it operable too.
Keep glass, window frames, handles, mirrors, inner door cards, and attached details aligned with each moving door.
Ensure animated parts do not detach, slide through the body, or rotate around their visual center.
Expose a clear control API to open and close the hood and each door. Support both toggling and explicit open/close commands if the project architecture allows it.

Add interaction targets or raycasting hooks for a host application to use. Do not force a permanent UI into the host scene. Any optional demo controls must stay in the demo page.
Check before continuing: Open and close every operable part repeatedly. Verify the pivot axes, opening direction, animation easing, clearances, attachments, and visibility of the cabin and engine bay. Fix any clipping, detachment, or incorrect rotation before continuing.
Phase 6 — Add engine start, idle, rev, and stop audio
Add an engine-start feature if the project’s runtime supports browser audio. Prefer suitable local audio assets if they already exist. Otherwise, create a layered synthesized engine sound with the Web Audio API; it should be more convincing than a single steady oscillator.
Provide a clear API for starting and stopping the engine, plus an optional throttle or rev control. Include a brief starter-crank and ignition sequence, followed by an uneven low idle. Revving should smoothly change pitch, intensity, and texture. Use filtering and subtle layered noise or harmonic content to suggest a real engine and exhaust.
Respect browser audio policies: initialize or resume the AudioContext only after a user gesture, handle muted or unavailable audio gracefully, and stop and dispose of audio nodes cleanly. Never autoplay sound on page load. If a demo page exists, add simple start/stop controls there; do not attach an imposed UI to the reusable model.
Check before continuing: Test start, idle, rev, stop, and disposal through user actions. Confirm that the sound does not autoplay, does not continue after stopping or disposal, and does not produce console errors.
Phase 7 — Integrate, inspect, and correct the complete asset
Keep the vehicle self-contained and separate from unrelated scene setup. Do not add a ground plane, floor, background, sky, scenery, or permanent environment lighting to the vehicle asset. Do not hard-code a camera into it. Its materials should respond well to lighting supplied by the host scene.
Expose a concise documented interface for creating the vehicle, attaching its root object to a parent scene, opening and closing the hood and individual doors, starting and stopping the engine, optionally changing the rev level, and disposing of its resources. Follow the project’s conventions. Do not break unrelated project behavior.
Run the project using its existing development workflow and inspect the actual rendered result. Compare front three-quarter, side, and rear three-quarter views with the reference. Refine proportions, silhouette, wheel placement, roof cargo, materials, and details until the result reads as the same kind of vehicle from all three angles.
Final checks:
The asset has no baked-in floor or background and works in an externally lit scene.
The hood and doors pivot correctly, animate smoothly, and reveal the engine bay and complete cabin.
Interior components have plausible scale and placement and remain visible through the windows.
The vehicle renders without missing assets, WebGL errors, or console errors.
Audio starts only after a user action and behaves correctly through start, idle, rev, stop, and disposal.
The model remains detailed and readable at a useful viewing distance without excessive geometry or unstable shader effects.
Do not stop at a plan or a blockout. Complete every phase, inspect the result, correct visible and functional problems, and report which files changed, how to instantiate and control the vehicle, and which visual and audio checks you completed. Clearly mention any checks you could not perform.
Make it hereFree runs soon
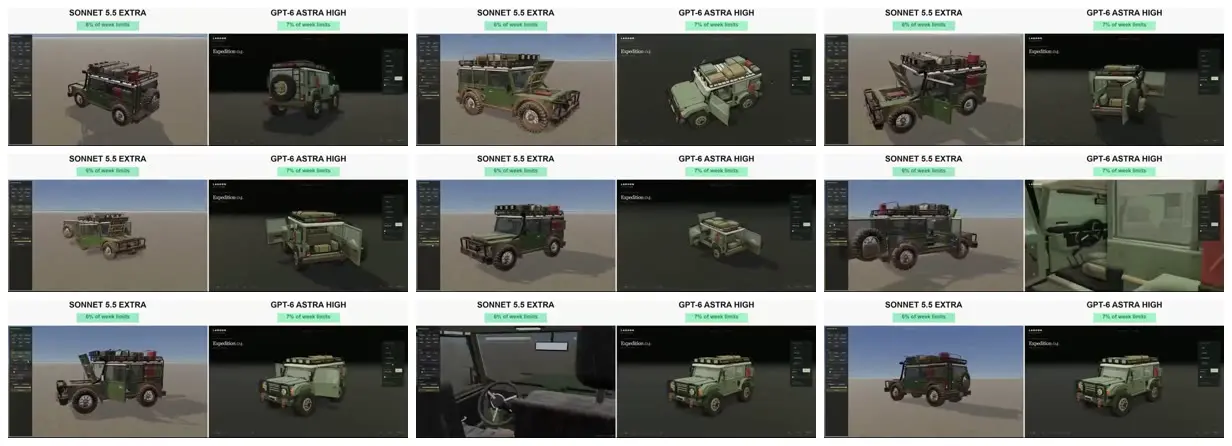
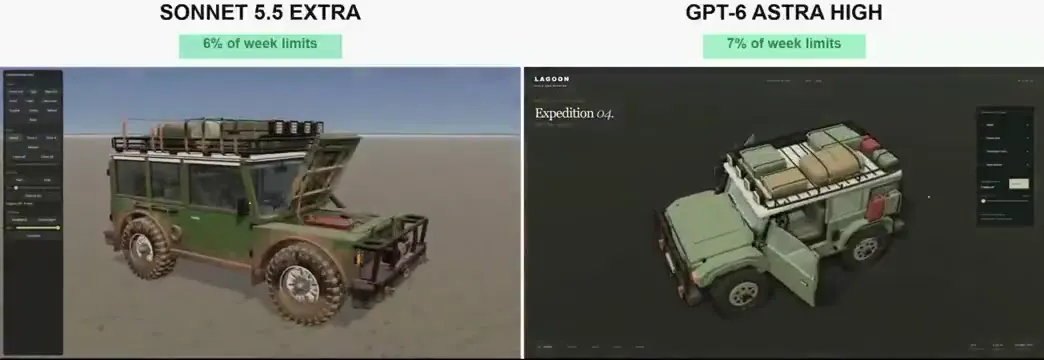
Weathered expedition 4x4 comparison
A side-by-side showcase of two olive-green expedition vehicles, with exterior views, open doors and hoods, roof-mounted cargo, rear spare tires and close-up cabin details.
You'll need
- The published prompt refers to supplied reference images, footage or files. Provide your own equivalents.
How it was made
Sonnet 5.5 · Astra · Three.js
Source and credit
X · Sep 28, 2026 · 222 likes · 88k views · 21 comments
Made with AI, according to the source
Published instructions: https://x.com/maxt3chno/status/2104679766179954990
Look notesby Reference
Stylized, boxy expedition truck with rugged off-road tires, roof equipment, and camper-style bodywork.
- Color
- Muted olive and sage green, charcoal, gray, and small red accents.
- Type
- Low-poly 3D render with simple materials and soft shadows.
- Framing
- Vehicle shown in three-quarter and side views against plain studio-like backgrounds.
- Structure
- Angular cab and utility body, prominent wheels, roof rack with expedition gear, and compartment details.