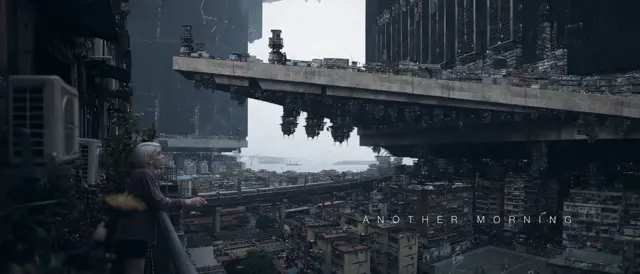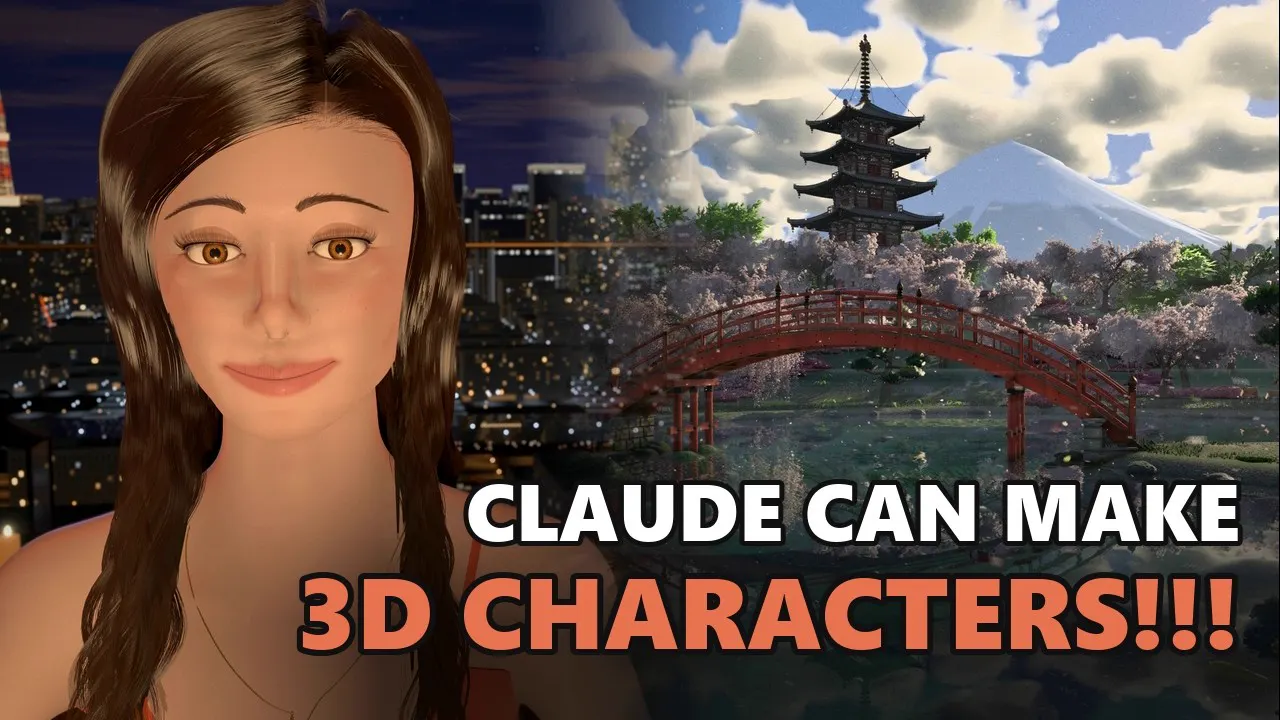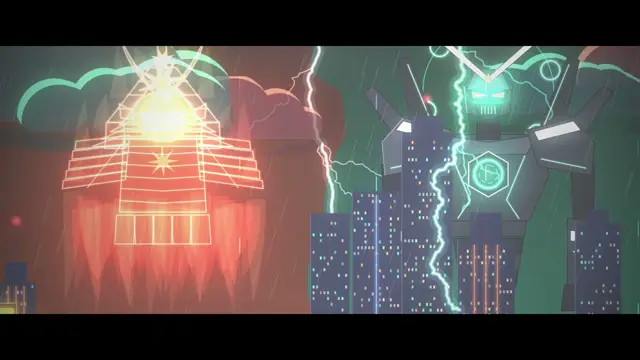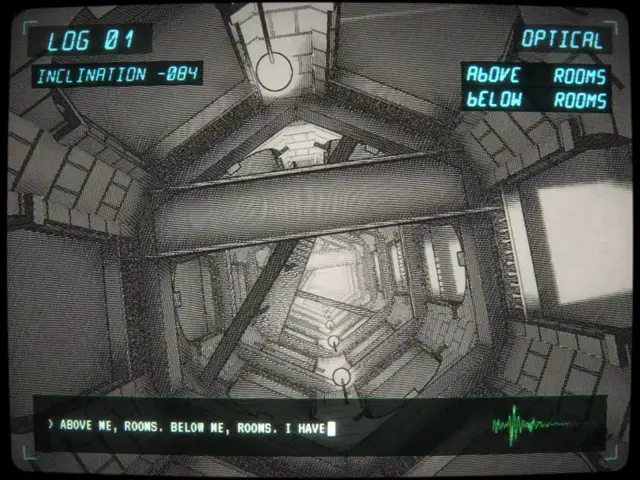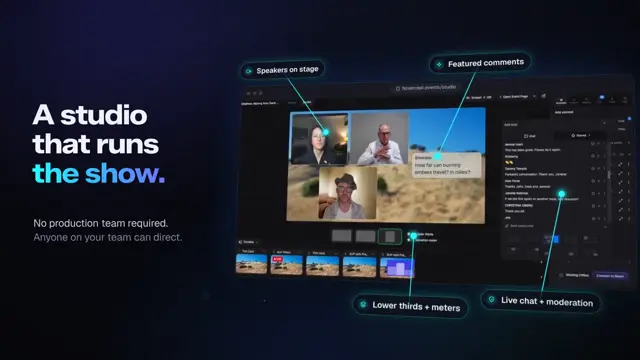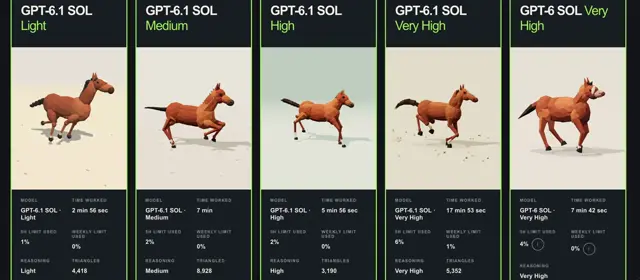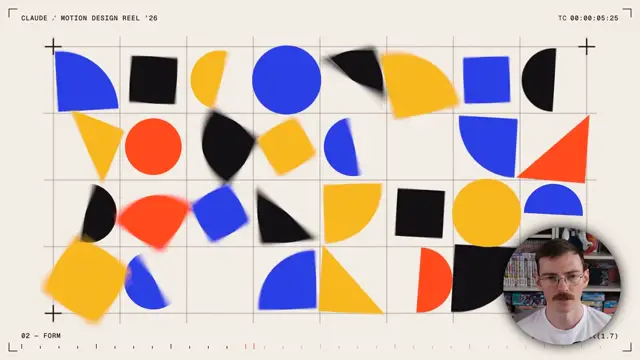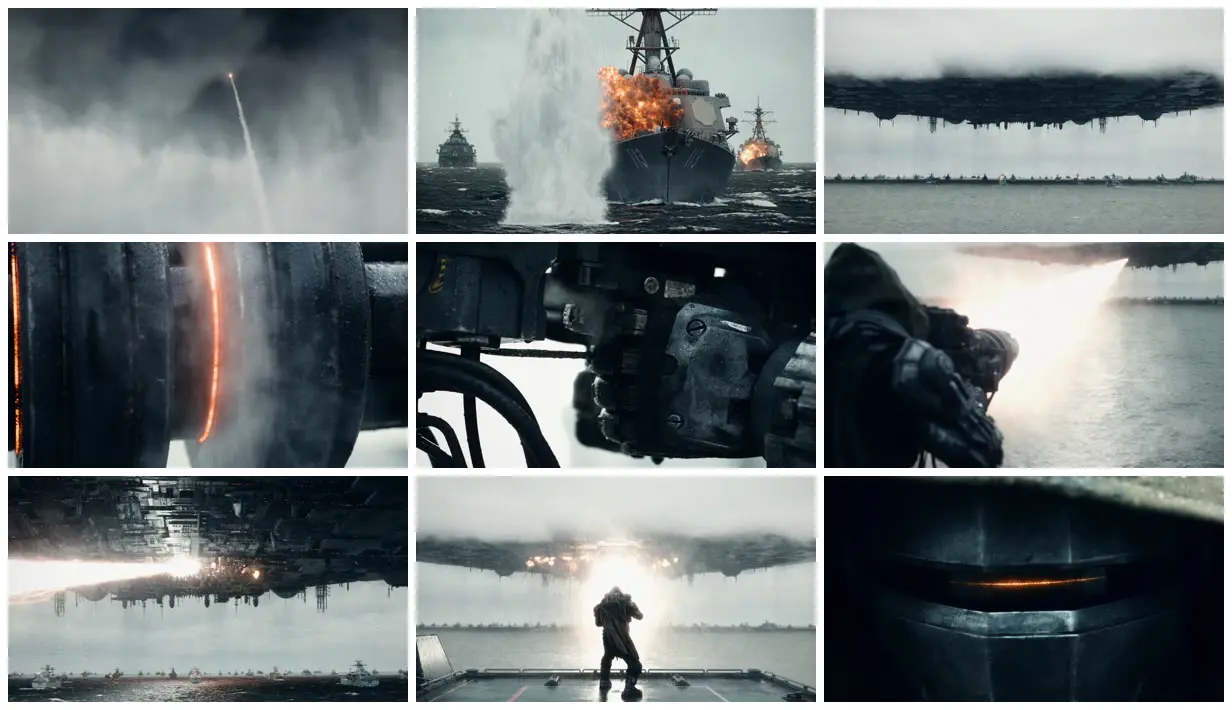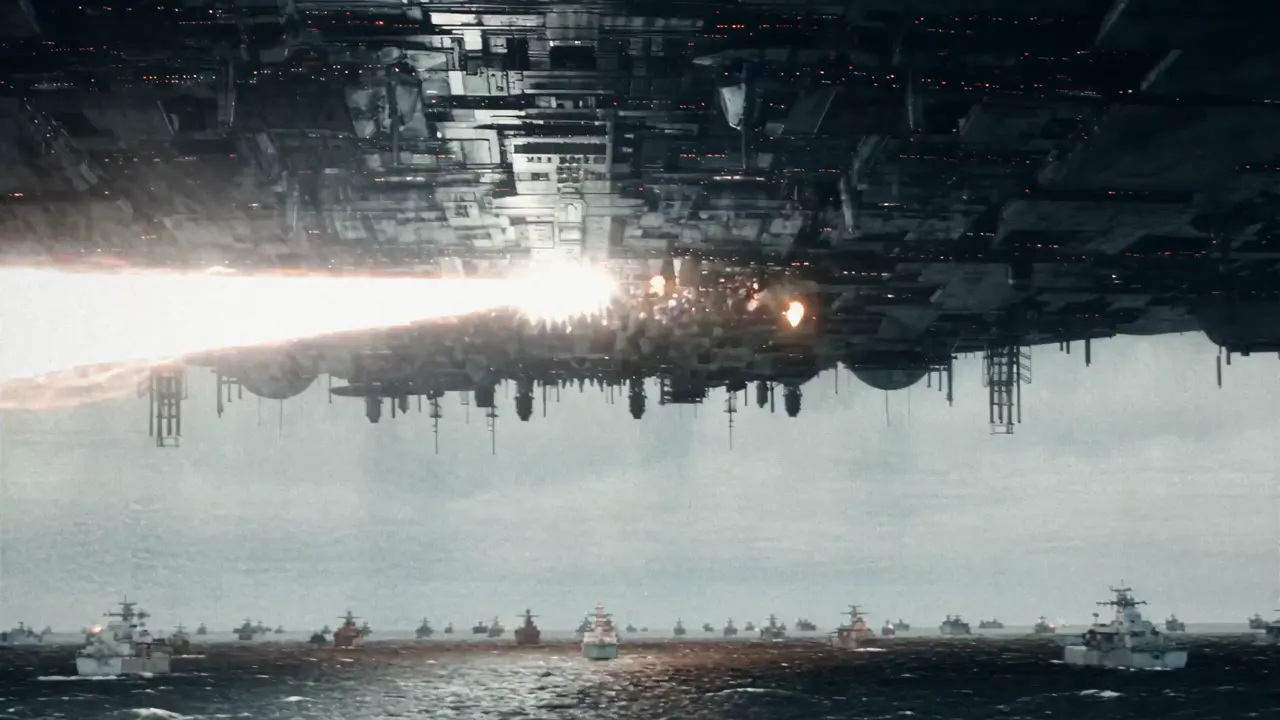
ok I went with the other video (I prompted it manually with the reference images)

Here's what I want you to do next. I have davinci resolve studio open on my mac right now and I have the video + the audio already preloaded for you.

You task is to edit the video so that it is a perfect cinematic trailer. There may be parts we have to trim, re-order, audio management etc. One thing I want the "FIRE" part to be clear. It's around approximately 16s or 16.5s right before the gun fires. You need to also deal with the music track to make it fit properly etc. I am leaving this up to your creative decisions! Make it fucking epic as hell.

Finally, I want you to color grade and post process the entire thing (filmic grain, effects..... everything a real professional studio would do here). I am going to paste in a summary below but by no means do you need to adhere 1:1:

DaVinci Resolve Studio — Seedance 2.5 Full-Video Colour Grading Brief
Objective
Perform a professional, cinematic colour grade on the entire supplied Seedance 2.5 video in DaVinci Resolve Studio.
The goal is to achieve a cohesive, intentional, filmic image while retaining natural detail, smooth tonal transitions, believable skin tones, controlled highlights, and rich but realistic colours.
Prioritize image quality and consistency over applying a heavy stylized look.
Source assessment
Before grading:
Inspect the entire source video, not just the opening frame.
Identify the source resolution, frame rate, codec, bit depth, chroma subsampling, and available colour metadata.
The source is expected to be H.264, 8-bit, 4:2:0, at 24 fps.
Determine whether the source is SDR or HDR and identify its colour space and transfer function where possible.
Inspect representative frames for clipped highlights, crushed blacks, banding, compression artifacts, unusual skin tones, inconsistent white balance, and AI-generated visual anomalies.

Preserve the original frame rate and duration unless explicitly instructed otherwise.
Do not assume that the footage is log-encoded or that its colour metadata is correct simply because it is AI-generated.
2. Colour management
Use DaVinci Resolve Studio's high-precision processing pipeline.
Preferred starting configuration for an SDR master:
Colour science: DaVinci YRGB Color Managed.
Timeline working colour space: DaVinci Wide Gamut / DaVinci Intermediate.
Output colour space: Rec.709 Gamma 2.4 for a conventional SDR master.
Input colour space: identify the source's actual encoding. If metadata is absent or unreliable, inspect the image and verify the interpretation before committing to a grade.

Tone mapping and gamut mapping: use appropriate output transforms to produce a controlled Rec.709 image.
If the source is confirmed to be conventional Rec.709 SDR, assign the appropriate Rec.709 input colour space. Do not apply a log-to-Rec.709 LUT to footage that is already display-referred Rec.709.
If the source's colour characteristics cannot be established confidently, document the assumption and compare the result against the original.
3. Data levels
In the Media Pool, inspect Clip Attributes → Data Levels.
Start with Auto.
Verify that the image has plausible black and white levels.

Use waveform monitoring to check for unexpected clipping or lifted blacks.
Only override Auto if there is evidence that the source is being interpreted incorrectly.
Do not select Full as a quality enhancement.
The goal is correct interpretation, not an arbitrary conversion between full and video levels.
4. Bit depth and intermediate files
The source is 8-bit H.264 4:2:0.
Resolve's internal processing provides substantially greater precision than the source encoding. Do not describe an 8-bit-to-16-bit conversion as recovering missing colour information.
Do not transcode the source unnecessarily before grading.
If an intermediate is needed for VFX, compositing, or an external application, use a suitable high-bit-depth format such as ProRes 4444 or an appropriate high-bit-depth image sequence. Choose the format according to the actual workflow and alpha-channel requirements.
A higher-bit-depth intermediate can preserve subsequent processing more accurately, but it cannot restore source detail that was never present.
5. Grading approach
Grade the complete video for a consistent cinematic appearance.
Primary correction
Establish balanced exposure and contrast.

Correct obvious white-balance or colour casts.
Set convincing black levels without crushing shadow detail.
Preserve highlight detail wherever it exists in the source.
Maintain natural midtones and believable skin tones.

Avoid excessive saturation, especially in reds and oranges.
Creative look
Develop a restrained, cohesive cinematic look appropriate to the footage.
Use deliberate contrast and tonal separation.
Keep highlights controlled and shadows rich without making them muddy.
Introduce subtle colour separation only where it improves the image.

Avoid excessive teal-and-orange treatment, artificial skin tones, or exaggerated saturation unless the scene specifically calls for it.
Preserve the intended mood and visual continuity of the original.
Shot-to-shot consistency
Review every shot and transition.
Match exposure, white balance, contrast, and saturation across adjacent shots.
Use shot-specific adjustments where necessary rather than forcing one identical correction onto every shot.
Watch for flickering colour, inconsistent exposure, and changes in skin tone.
Avoid abrupt visual changes at cuts.
Protect the source
Because the source is 8-bit 4:2:0:
Avoid unnecessarily aggressive shadow recovery.

Avoid extreme saturation pushes and large secondary corrections that reveal compression or chroma artifacts.
Watch gradients, skies, dark backgrounds, and smooth areas for banding.
Use noise reduction only when it demonstrably improves the image; avoid smearing fine details.
Do not sharpen aggressively or invent texture to conceal compression.
Do not use AI enhancement or generative modifications that alter the content unless explicitly authorized.
Use scopes as well as visual judgment. Review the image at normal playback size and inspect problem areas at 100% magnification.
7. Export
Create a high-quality master suitable for further editing and archival.
Preferred master:

Resolution: 3840 × 2160 if the approved project is intended to be 4K.
Frame rate: preserve the source frame rate of 24 fps.

Colour space: Rec.709 Gamma 2.4.
Codec: ProRes 422 HQ or an appropriate DNxHR high-quality intermediate.
Bit depth: use the highest practical precision supported by the selected codec.
Audio: preserve the original audio, synchronization, and duration unless instructed otherwise.
Data levels: choose the correct setting for the selected codec and delivery requirements.

Embed appropriate colour-space and gamma metadata where supported.

Do not upscale a 1280 × 720 source to 4K merely to label it 4K. If the supplied source is 720p, establish whether an approved 4K upscale exists before selecting the delivery resolution.
If the source is already 3840 × 2160, preserve that resolution.
Also create a delivery-ready H.264 or H.265 version if requested, using an appropriate bitrate and bit depth.
8. Quality control
Before delivery:
Watch the entire graded video from beginning to end.
Check every cut for colour or exposure discontinuities.
Confirm there are no accidental black frames, dropped frames, altered timing, or missing audio.
Check highlights, shadows, skin tones, gradients, and saturated colours.

Compare the finished grade with the source.
Confirm that the rendered file has the intended resolution, frame rate, codec, colour-space tags, and duration.

Verify that the rendered file looks consistent with the Resolve viewer.
Deliverables
Provide:
The final graded master.
A delivery-ready compressed version, if requested.
The DaVinci Resolve project file, with media links managed appropriately.
A brief report identifying the colour-management settings, export settings, any assumptions made about the source, and any source-quality limitations.

Final instruction
Use professional colourist judgment throughout. The objective is the best technically sound and aesthetically cohesive grade the source can support—not an artificial attempt to make 8-bit footage behave like original 16-bit or RAW footage.
If a technical uncertainty materially affects the image, test the alternatives on representative frames before applying the decision to the entire video. Do not silently make destructive changes to the source.
Make it yours. Point the first paragraph at your own footage and track, and change the moment it calls out (the "FIRE" part at "approximately 16s or 16.5s") to your own climax. The pasted colour-grading brief can stay as it is for any 8-bit AI footage.
Sci-fi naval battle trailer
A 30-second 4K sci-fi trailer: a mechanical gunner walks onto a warship's deck in the drizzle and fires a colossal beam into a vast mothership. Opus 5.5 designed the look with Luma's Uni 1.1, then edited, graded, and finished the footage in DaVinci Resolve.
“This is my first time giving OPUS the keys to DaVinci Studio and I have to say I’m really impressed with it.”
You'll need
- Access to Luma's Uni 1.1 image API and Seedance 2.5
- DaVinci Resolve Studio that the agent can control, with the video and audio already loaded
- Your own music track (the creator made a 30-second one in Suno)
How it was made
The creator's opening idea, dictated by voice, isn't published. Opus analysed it and the creator's Suno track, built a three-act beat sheet, and generated about 20 mood images with Uni 1.1 through an API call the creator wired up; the creator picked five. Opus also wrote a Seedance 2.5 prompt, posted in the thread. The creator instead used a generation they prompted by hand with the same reference images, upscaled it from 720p to 4K themselves, and handed it back with these instructions. Opus then edited, graded, and post-processed it in DaVinci Resolve Studio on the creator's Mac. The creator calls it essentially a one-shot.
About $15 by the creator's estimate: one Seedance 2.5 generation (about $10), around 25 Uni 1.1 images at about 4 cents each, Suno's free tier, and Claude on a monthly subscription
Posted Sep 28, 2026 · X · 991 likes · 63k views · 76 comments
Prompt from: Reply on X, the instructions for the DaVinci stage
Look notesby Reference
A desaturated, photoreal sea battle under low cloud: a missile trail in the storm, warships hit by fire and spray, a dark mothership spread over the fleet, close-ups of a heavy cannon and a hooded armored gunner, a white-hot beam striking the ship's underside, and a closing visor close-up.
- Color
- Steel gray, slate blue, and wet black with fog-white skies and sea spray, broken by orange fireballs, an orange glow in the gun's barrel ring and the visor slit, and a blown-out white beam.
- Type
- No on-screen text.
- Framing
- 16:9 wides with a flat sea horizon low or mid-frame and the mothership across the top edge, cut against tight, shallow-focus close-ups of machinery. The gunner is framed over the shoulder and later from behind, centered on the deck in the beam's glare.
- Sound
- A 30-second track the creator made in Suno v6 mini, with the edit built around a "FIRE" moment at about 16 seconds, according to the creator.
- Structure
- A missile's trail into storm cloud, a destroyer hit by an explosion beside a tall column of spray, the mothership above a line of ships on the horizon, a barrel ring glowing orange, a gauntleted hand on the cannon, the hooded gunner firing a beam toward the horizon, the beam striking the mothership's underside above the fleet, the gunner from behind on the deck in the glare, and a dark armored visor with a thin orange slit.